
A Step-By-Step Guide to DIY Roof Rack Installation
You’ve got gear to haul, adventures to chase, and a vehicle that’s begging for some extra cargo space. Installing a roof rack yourself might sound intimidating, but it’s a pretty straightforward project that will save you money, not to mention give you some serious bragging rights.
This step-by-step guide to DIY roof rack installation will provide you with the tools for success. Whether you’re mounting a basic crossbar system or tackling something more complex, you can rely on our information to do it right. By the time you finish reading, you’ll have a rock-solid roof rack that’s ready for whatever you throw at it (or on it).
Gather Your Tools and Materials
Before you start wrestling with metal bars and rubber pads, make sure you’ve got everything you need within arm’s reach. Trust us, nothing kills momentum like realizing you need a specific wrench halfway through the job.
Your basic tool kit should include a socket wrench set, screwdrivers (flathead and Phillips), a measuring tape, and a level. Most roof rack kits come with their own hardware, but double-check that you’ve got all the bolts, washers, and mounting brackets listed in the instructions. A flashlight or headlamp will come in handy for checking those hard-to-see connection points.
Don’t forget about protection for your vehicle’s finish; spreading old towels or blankets across the roof will prevent scratches while you work. If you’re dealing with a particularly stubborn bolt, penetrating oil can save you a lot of frustration.
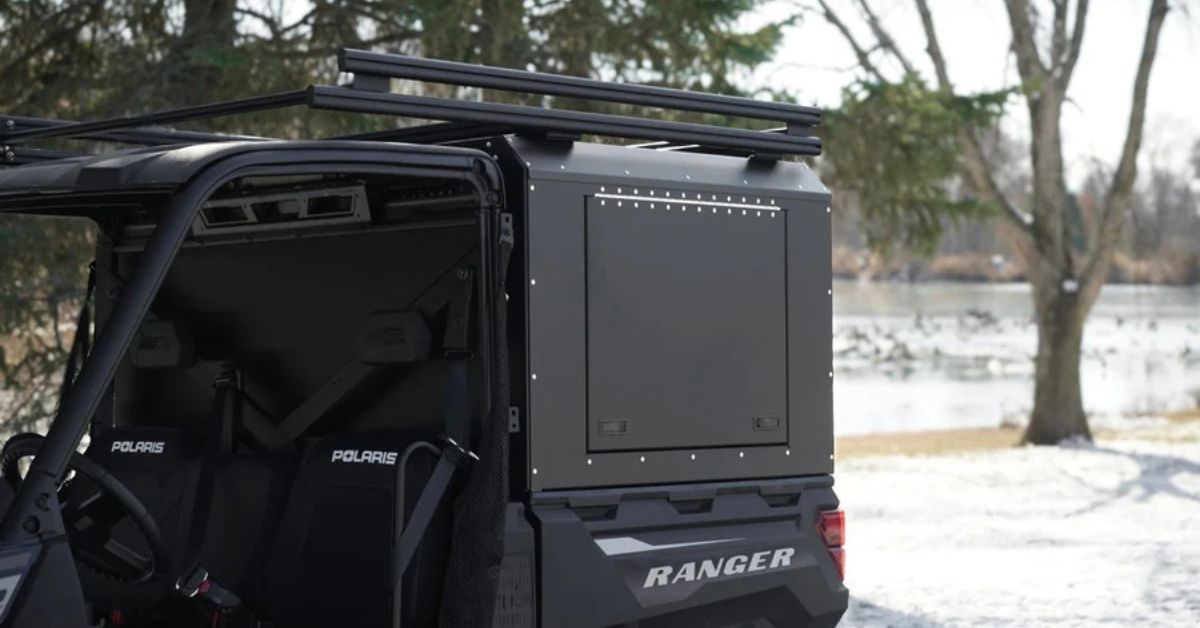
Choose the Right Roof Rack System
Not all roof racks are compatible with every vehicle, and selecting the wrong system can turn a simple installation into a nightmare of returned parts and wasted weekends. For example, using a roof rack suited for a car on a utility task vehicle (UTV) won’t work.
Fortunately, Black River has a wide selection of aftermarket UTV accessories for you to choose from. To make an informed decision, first check your vehicle’s manual for weight limits and mounting point specifications.
For typical vehicles, you’ve got three main roof rack options:
- Factory mounting points: These offer the strongest and most secure installation, but they’re not available for every vehicle.
- Rain gutter systems: A rain gutter system is ideal for older cars and trucks with prominent gutters.
- Clip-on systems: You can rely on this system to provide ample versatility for vehicles that lack other mounting options.
Additionally, consider what you plan to carry on your roof. Basic crossbars handle most cargo boxes and bike racks, but you might need specialized mounting points for kayaks, surfboards, or lumber. Factor in your typical load weight as well. After all, there’s no point in installing a system that can’t handle your gear.

Prepare Your Vehicle
First, thoroughly clean your roof and mounting areas. Dirt and debris can interfere with proper fitting and potentially scratch your paint during installation. Pay special attention to the areas around factory mounting points or where clips will attach.
If your vehicle has factory mounting points, remove the plastic covers. These usually pop off with gentle pressure, but if they seem stuck, check your manual. Some covers require a specific tool or technique to remove without damage.
Inspect your roof for existing damage, such as dents, rust spots, or loose trim pieces. These issues will only get worse once weight starts going on and off the roof regularly, so address them before installing your rack.
Install the Mounting System
This step varies depending on your roof rack type, but the basic principles remain the same. Lay out all your components, matching them to the instruction diagrams. This task may sound tedious, but it will save time later when you’re trying to figure out which bracket goes where.
Factory Mounting System Installation
Locate your vehicle’s mounting points, and remove covers or plugs that may be in the way. Thread the mounting hardware through the rack feet, positioning them over the mounting points. Don’t fully tighten anything yet; you’ll want to adjust once everything’s in place.
Clip-On System Installation
These systems require careful positioning to avoid damage to your doorframes or roof edges. The clips should sit flush against the roof with even pressure distribution. Any gaps can lead to vibrations or potential damage, so always check that rubber pads make contact with your vehicle’s surface.
Position and Align the Crossbars
With your mounting system in place, it’s time to attach the crossbars. Most systems allow you to adjust the spacing between bars, so think about what you’ll carry most often. Closer spacing works better for smaller items, while wider spacing accommodates longer cargo.
Using your measuring tape, check that the bars are parallel to each other and perpendicular to the length of your vehicle. Small alignment issues may not seem like a big deal at first, but they can cause problems when you try to mount accessories or cargo later.
Also, check that the crossbars sit level from side to side. An uneven installation puts unnecessary stress on the mounting points and can cause premature wear. Your level becomes your best friend here, so take the time to get this right.
Tighten Everything
Work systematically to gradually increase the torque on each connection point from one end of the rack to the other. To avoid uneven stress distribution, don’t max out the first bolt and then move to the next.
Most manufacturers provide torque specifications in their instructions to make this process simple. If you don’t have a torque wrench, hand-tight plus a quarter turn usually gets you in the ballpark. The goal is to secure without overtightening, which can damage threads or crack mounting points.
Before you consider the job done, double-check every connection. A loose bolt that works itself free on the highway turns your roof rack into a road hazard. Give each bolt a quick test with your wrench, confirming that it feels snug without requiring excessive force.

Test Your Installation
Before you load up for that epic road trip, test your installation with a lighter load. Attach whatever accessories you plan to use, adding weight to simulate real-world conditions using a few sandbags or water jugs.
Take a short drive around your neighborhood, paying attention to unusual noises or vibrations. Stop after a few miles and recheck all your connections, but keep in mind that it’s normal for things to settle slightly during initial use.
Get Ready To Hit the Road
By following this step-by-step guide to DIY roof rack installation, yours is sure to go off without a hitch. With proper maintenance, your roof rack will provide years of reliable service and countless adventures.
Are you in the market for a new roof rack? Head over to Black River to explore our wide selection of accessories. From roof racks to UTV accessories, you’ll find everything you need for your next big trip.